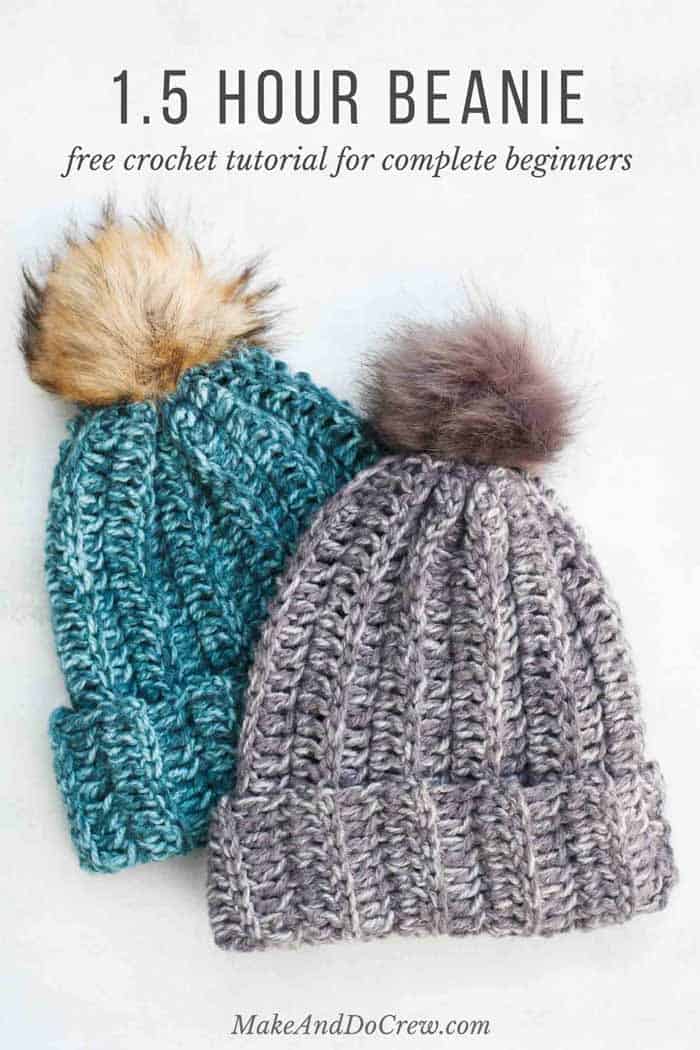
If you’re wondering how to crochet a hat, follow these steps: start by choosing a crochet hook and yarn that you like. Next, create a foundation chain and join it into a ring. From there, work in rounds using basic stitches. To shape the hat, you’ll need to increase or decrease stitches as necessary. Finally, finish off the hat by securing the end. Crocheting a hat is a fun and creative way to stay warm during the colder months.
Whether you’re a beginner or an experienced crocheter, this guide will provide you with the necessary steps to create a beautiful and stylish hat. With just a few basic crochet skills, you’ll be able to make hats for yourself, friends, and family in no time.
Let’s get started on this enjoyable and rewarding crochet project!
How to Crochet a Hat: Choosing Your Tools and Materials
Selecting the right tools and materials is crucial for crocheting a hat successfully. To learn how to crochet a hat, begin by choosing soft yarn in your desired color and a suitable crochet hook size. Ensure you have a yarn needle and scissors for finishing touches.
Selecting The Right Yarn
When choosing yarn for your crochet hat, consider its weight, fiber content, and color. Knowing how to crochet a hat involves understanding that the weight of the yarn determines how thick or thin it is. A heavier weight yarn will create a warmer hat, while a lighter weight yarn will create a more breathable hat. Consider the fiber content of the yarn as well, as some fibers may be more suitable for hats than others. For example, wool and acrylic are popular choices for hats as they are warm and durable. Finally, choose a color that suits your style and the occasion.
Picking The Perfect Crochet Hook
The size of the crochet hook you choose will depend on the weight of the yarn you have selected. When learning how to crochet a hat, it’s important to know that a heavier weight yarn will require a larger hook size, while a lighter weight yarn will require a smaller hook size. Generally, the recommended hook size is listed on the yarn label. It’s crucial to choose a comfortable crochet hook that suits your grip and feels good in your hand. The material of the hook can also make a difference—metal hooks are durable, while plastic hooks are lightweight and easy to handle.
Tools And Materials Checklist
To crochet a hat, you’ll need the following tools and materials:
- Yarn in the weight and color of your choice
- A crochet hook in the appropriate size
- Scissors
- A tape measure
- A yarn needle for weaving in ends
Choosing the right tools and materials is essential when it comes to crocheting a hat. Understanding how to crochet a hat involves considering the weight, fiber content, and color of the yarn, as well as the size and material of the crochet hook. With these tips in mind, you’ll be well on your way to creating a cozy and stylish crochet hat.
Understanding Basic Crochet Stitches
Crocheting a hat can be a fun and rewarding project for craft enthusiasts. To successfully crochet a hat, it is essential to first understand basic crochet stitches.
The Slip Knot: Starting From Scratch
The slip knot is the initial step in crocheting and creates a secure loop on the hook.
Chain Stitch: The Foundation Of Crochet
The chain stitch forms the foundation of your crochet project.
Starting Your Hat
When it comes to crocheting a hat, getting started on the right foot is essential. In this section, we will guide you through the initial steps of learning how to crochet a hat, from creating a magic circle to working in the round seamlessly. Let’s dive in!
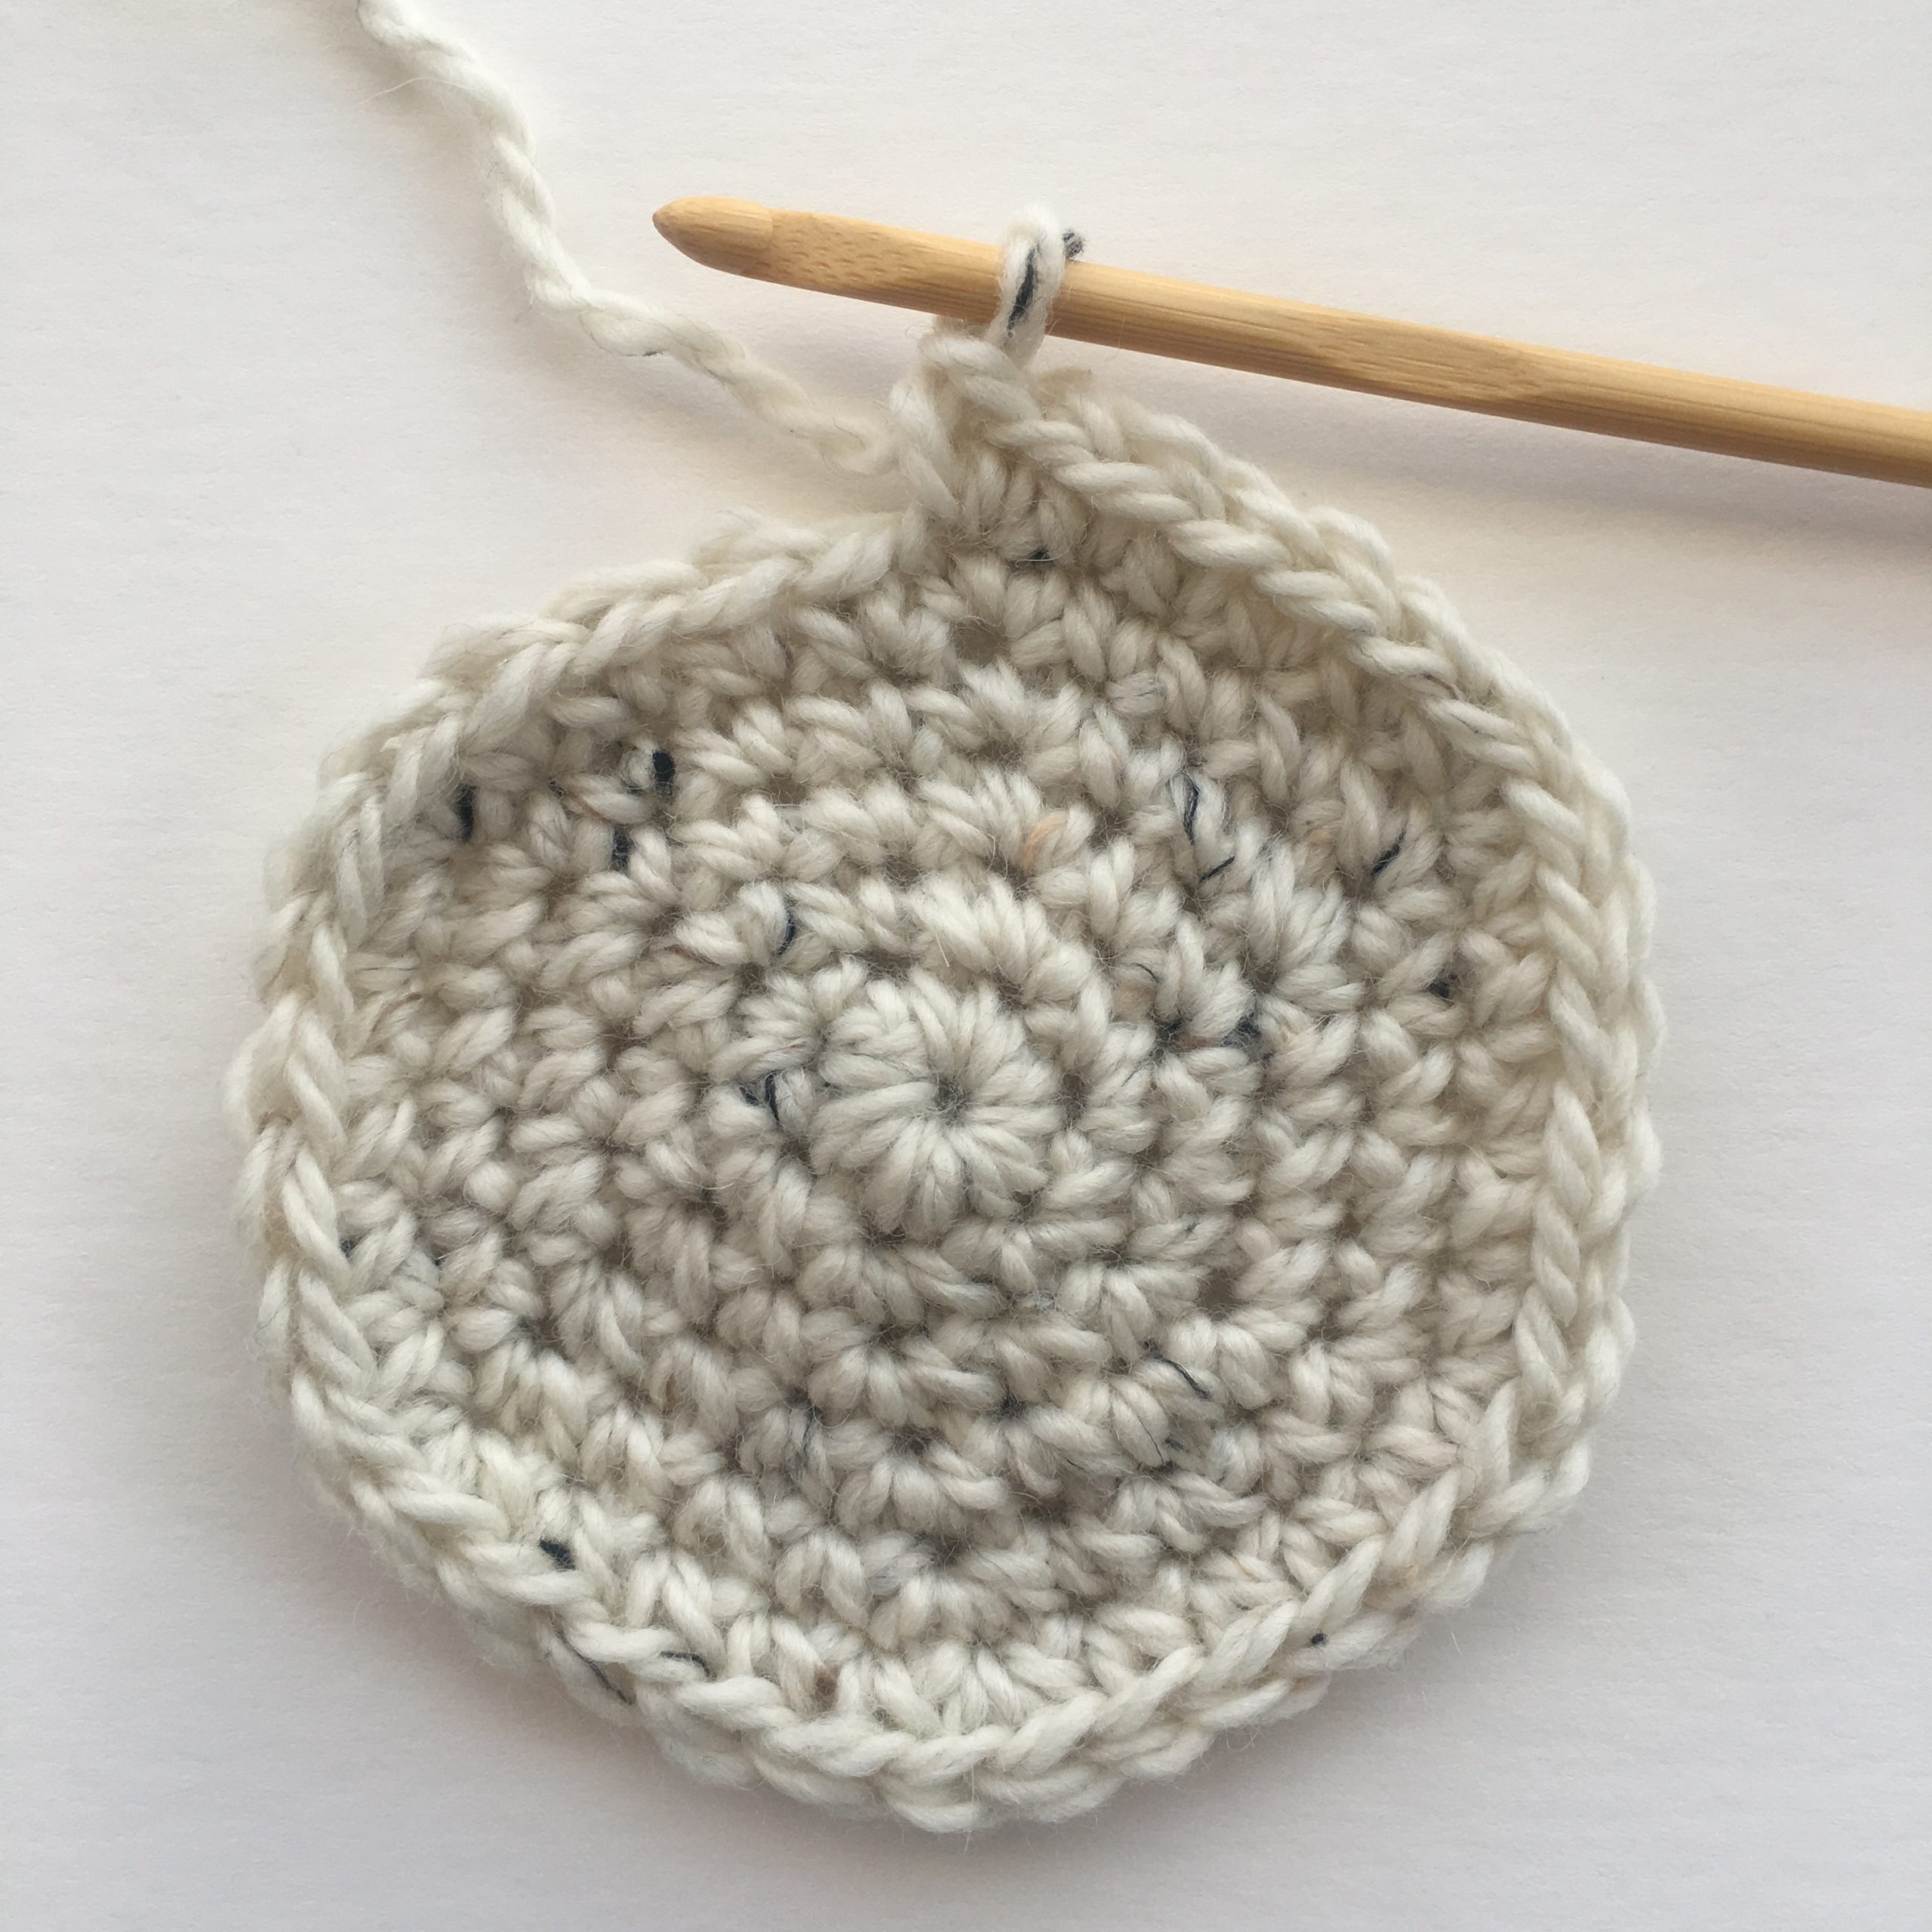
Creating A Magic Circle
Creating a magic circle is the first step in starting your crochet hat. Understanding how to crochet a hat begins with this technique, which allows you to form a tight center for your hat, ensuring a neat and professional finish. To create a magic circle, follow these simple steps:
- Hold the tail end of your yarn in your palm, allowing a few inches to hang loose.
- With your other hand, wrap the working end of the yarn around your fingers, forming a loop.
- Insert your crochet hook under the first loop and catch the working yarn.
- Pull the working yarn through the loop, creating a new loop on your hook.
- Continue crocheting your stitches into the loop until you reach the desired number of stitches for your hat.
- Gently pull the tail end of the yarn to tighten the center of the circle.
By starting your hat with a magic circle, you’ll achieve a clean and seamless look.
Working In The Round: A Seamless Approach
Once you have created your magic circle, it’s time to start working in the round. Understanding how to crochet a hat involves mastering this technique, which allows you to crochet your hat without any visible seams, resulting in a polished and professional appearance. Follow these steps to work in the round:
- Insert your crochet hook into the first stitch of the magic circle.
- Yarn over and pull through the stitch, creating a new loop on your hook.
- Continue crocheting your stitches in a circular motion, moving from one stitch to the next.
- Avoid joining each round with a slip stitch, as this can create a visible seam.
- Instead, use a stitch marker to mark the first stitch of each round, ensuring you keep track of your progress.
- Continue working in the round until your hat reaches the desired height.
Remember to maintain a consistent tension throughout your crochet work to ensure an even and professional finish.
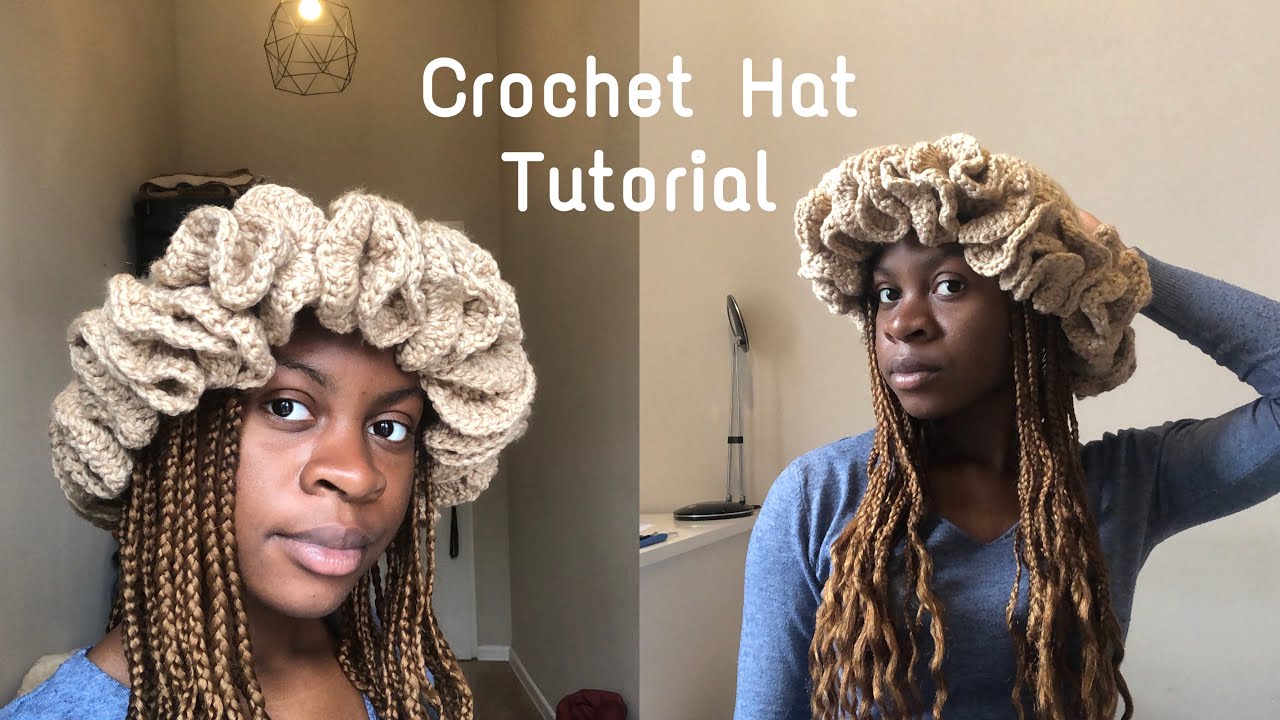
Credit: www.youtube.com
Shaping The Hat
Discover the art of shaping the hat with crochet techniques. Learn how to crochet a hat effortlessly with simple step-by-step instructions, allowing you to create stylish and cozy hats. Master the craft of crocheting hats for yourself or as thoughtful handmade gifts.
Increasing Stitches For A Perfect Fit
To ensure the perfect fit for your crocheted hat, you need to increase the stitches. Understanding how to crochet a hat involves this technique of adding stitches evenly around the hat. Start by marking the center stitch and then adding two stitches on either side of it. Continue adding stitches in this manner until you reach the desired size. Remember to keep track of the number of stitches you have added, so you can maintain the right stitch count.
Adding Texture With Different Stitches
Adding texture to your hat can make it look more interesting and unique when learning how to crochet a hat. Different stitches can help achieve this goal. One of the easiest ways is by using a variety of stitches, such as single crochet, double crochet, and half-double crochet. You can also experiment with more complex stitches, such as the popcorn stitch or the shell stitch. These stitches create a raised texture on the surface of your hat, which can be visually appealing.
Summary
Shaping your crocheted hat is essential to achieving the perfect fit when learning how to crochet a hat. By increasing stitches evenly around the hat, you can create a hat that fits comfortably. Adding texture to your hat with different stitches can make it look more interesting and unique. Experiment with different stitches and find the ones that work best for your project.
Creating The Body Of The Hat
Consistent Stitching For Even Rows
Consistent stitching is crucial for learning how to crochet a hat and creating an even and symmetrical body. To achieve this, focus on maintaining a steady tension as you work each row. This will help to avoid any irregularities in the overall appearance of the hat.
Measuring For The Right Length
Measuring for the right length is important when learning how to crochet a hat to ensure that the hat fits comfortably and looks proportionate. To do this, use a tape measure to determine the desired length of the hat. Keep in mind that the length may vary depending on the style and intended fit, so it’s important to tailor this step to your specific preferences.
Credit: www.mamainastitch.com
Finishing Touches
After completing the main body of your crochet hat in the process of learning how to crochet a hat, it’s time to add the finishing touches that will give it that professional and polished look. In this section, we will cover two important steps: closing the top of the hat and adding a brim for style and warmth.
Closing The Top Of The Hat
To close the top of the hat, you will need to gather the stitches together to create a tight and secure closure. Here’s how you can do it:
- Thread the yarn tail through a yarn needle.
- Insert the needle into the next stitch on the last round of your hat.
- Continue weaving the needle in and out of each stitch until you reach the beginning of the round.
- Pull the yarn tight to close the opening.
- Secure the yarn by weaving it through a few stitches and then trim off any excess.
By following these steps, you will have a neatly closed top that adds a professional touch to your crochet hat.
Adding A Brim For Style And Warmth
Adding a brim to your crochet hat not only enhances its style but also provides extra warmth and protection. Here’s how you can add a brim:
- Decide on the desired width of your brim and the number of rounds you want to crochet.
- Start by joining the yarn to the bottom edge of the hat.
- Crochet the desired number of rounds in the stitch pattern of your choice.
- Make sure to keep your tension consistent to ensure an even and smooth brim.
- Finish off the brim by slip stitching or fastening off the yarn.
With the brim added, your crochet hat will not only look stylish but also provide additional warmth and protection from the elements.
By following these finishing touches, you can elevate your crochet hat to the next level, giving it a professional and polished appearance. Whether you’re creating hats for yourself or as gifts, these final steps will ensure that your creations are both stylish and functional.
Decorating Your Hat
When it comes to Decorating Your Hat, adding embellishments can enhance its style.
Choosing Embellishments
- Ribbons: Add a pop of color and texture.
- Pom-poms: Create a fun and playful look.
Attaching Accessories
- Thread and Needle: Secure embellishments in place.
- Hot Glue Gun: Easily attach heavier decorations.
Care And Maintenance
To keep your crocheted hat looking its best when learning how to crochet a hat, proper care and maintenance are essential. Follow these guidelines to ensure your hat stays in top condition for years to come.
Washing Instructions
- Hand wash your crocheted hat in lukewarm water.
- Use mild detergent and gently agitate the hat.
- Rinse thoroughly with cool water.
- Do not wring or twist the hat to remove excess water.
- Press the hat between towels to absorb moisture.
- Reshape the hat and lay it flat to dry.
Storage Tips For Longevity
- Store your crocheted hat in a cool, dry place away from direct sunlight.
- Avoid hanging the hat, as it can lose its shape over time.
- Consider storing the hat in a breathable cloth or paper bag.
- Keep the hat away from areas prone to moths or other pests.
- Regularly inspect the hat for any signs of damage or wear.
Credit: makeanddocrew.com
Frequently Asked Questions
What Materials Do I Need To Crochet A Hat?
You will need yarn, crochet hooks in different sizes, a tape measure, and a yarn needle to weave in ends and sew pieces together when learning how to crochet a hat. Be sure to select yarn and hook sizes that match the pattern’s recommendations for the best results.
Can I Crochet A Hat If I’m A Beginner?
Yes, you can learn how to crochet a hat! There are many beginner-friendly hat patterns available, and with some practice, you can create beautiful hats. Start with simple patterns and gradually work your way up to more complex designs as you build your crochet skills.
How Do I Measure My Head For A Crocheted Hat?
To measure your head for learning how to crochet a hat, use a soft tape measure and wrap it around your head, just above your eyebrows and ears. This measurement will help you determine the appropriate size for the hat you are crocheting, ensuring a comfortable fit.
What Are Some Popular Crochet Stitches For Hats?
Some popular crochet stitches for learning how to crochet a hat include single crochet, double crochet, half double crochet, and the timeless and versatile granny stitch. Experimenting with different stitches can add texture and visual interest to your crocheted hats.
Conclusion
In mastering the art of learning how to crochet a hat, you’ve unlocked a world of creativity and warmth. With the right tools and techniques, anyone can enjoy the meditative and rewarding process of crafting their own cozy headwear. Whether for personal use or gifting, crocheted hats are a timeless and customizable accessory that adds a personal touch to any outfit.