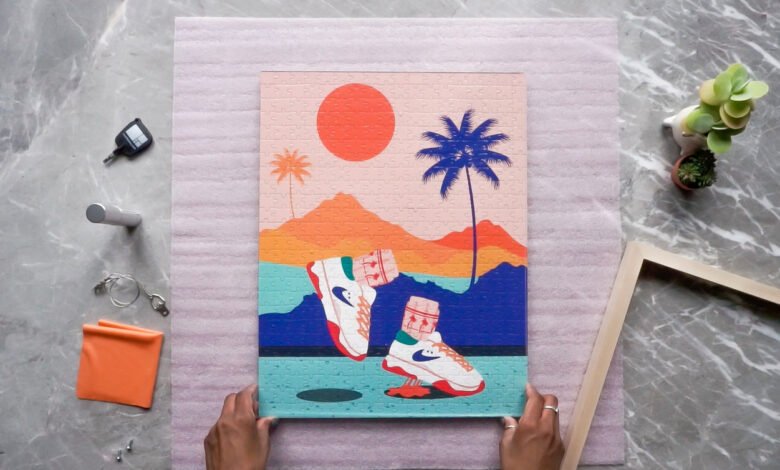
To frame a puzzle, start by selecting a suitable puzzle frame and ensure it is the correct size for your puzzle. Then, carefully disassemble the puzzle and remove any loose pieces.
Next, lay a clean, flat surface and place the puzzle face-down on it. Apply puzzle glue or adhesive sheets to the back of the puzzle to hold it together. Once the glue has dried, carefully flip the puzzle over and place it into the frame.
Secure the puzzle in the frame using the provided clips or adhesive strips. Finally, make sure the puzzle is centered and level before hanging or displaying it.
The Joy Of Puzzle Framing
Discover the joy of puzzle framing with this simple guide. Learn how to frame a puzzle and transform it into a stunning piece of art for your home. Enjoy the satisfaction of completing a puzzle and displaying it proudly on your wall.
Choosing The Right Puzzle
Consider the size and design for easy framing.
Benefits Of Displaying Completed Puzzles
Showcase your hard work and creativity.
Completing a puzzle brings a sense of accomplishment.
Frame and display to preserve memories.
Enhance home decor with personalized artwork.
Puzzles become a conversation starter in your space.
Preparation Is Key
Effective puzzle framing begins with thorough preparation. Start by choosing a suitable frame and ensuring the puzzle is clean and intact. Carefully apply puzzle glue and allow it to dry completely. Finally, carefully mount and secure the puzzle in the frame for a polished finish.
Assembling Your Tools And Materials
To frame a puzzle, you will need a few tools and materials to get started. Gather these items before you begin:
- Frame with backing and glass or acrylic
- Waxed paper or parchment paper
- Double-sided tape or puzzle glue
- Scissors or a craft knife
- Measuring tape or ruler
Preparing Your Workspace
Before you start framing your puzzle, you need to prepare your workspace. Follow these steps to ensure you have a clean and organized workspace:
- Clean the surface where you will work
- Make sure there is enough space to lay out your puzzle and frame
- Protect your workspace with a layer of waxed paper or parchment paper
Once you have gathered your tools and prepared your workspace, you are ready to start framing your puzzle. Remember, preparation is key to achieving a beautifully framed puzzle.
Puzzle Assembly Tips
Assembling a puzzle can be a fun and rewarding experience, but it can also be quite challenging. To help you tackle this task with ease, we have compiled some puzzle assembly tips. Whether you are a beginner or an experienced puzzler, these strategies will guide you through the process of framing your puzzle.
Starting With A Strategy
Before you begin assembling your puzzle, it’s essential to have a strategy in place. Here are a few tips to get you started:
- Sort the pieces: Begin by sorting the puzzle pieces into different piles based on their color, pattern, or edge shape. This will make it easier to identify and locate specific pieces as you progress.
- Find the corners and edges: Start by assembling the puzzle’s border using the corner and edge pieces. This will provide you with a framework for building the rest of the puzzle.
- Focus on small sections: Instead of trying to complete the entire puzzle at once, focus on smaller sections. By completing these sections, you will gain a sense of accomplishment and motivation to continue.
- Work on distinct areas: Look for distinct patterns, colors, or objects within the puzzle image. Assemble these areas separately before connecting them to the larger puzzle.
Preventing And Correcting Common Issues
While assembling a puzzle, you may encounter some common issues. Here are a few tips to prevent and correct them:
- Missing pieces: Before you start, ensure that all the puzzle pieces are accounted for. Double-check the box, packaging, and playing area to avoid missing pieces.
- Warping or bending: To prevent warping or bending of puzzle pieces, store them in a flat and dry place. Avoid exposing them to extreme temperatures or humidity.
- Stuck pieces: If you find that some pieces are stuck together, gently separate them using your fingertips or a thin object like a toothpick. Be careful not to damage the pieces.
- Accidental nudges: To avoid accidentally nudging or shifting completed sections, consider using a puzzle roll-up mat or a large piece of cardboard as a base for your puzzle.
By following these puzzle assembly tips, you’ll be well-equipped to frame your puzzle successfully. Remember to enjoy the process and celebrate your achievement once your masterpiece is complete!
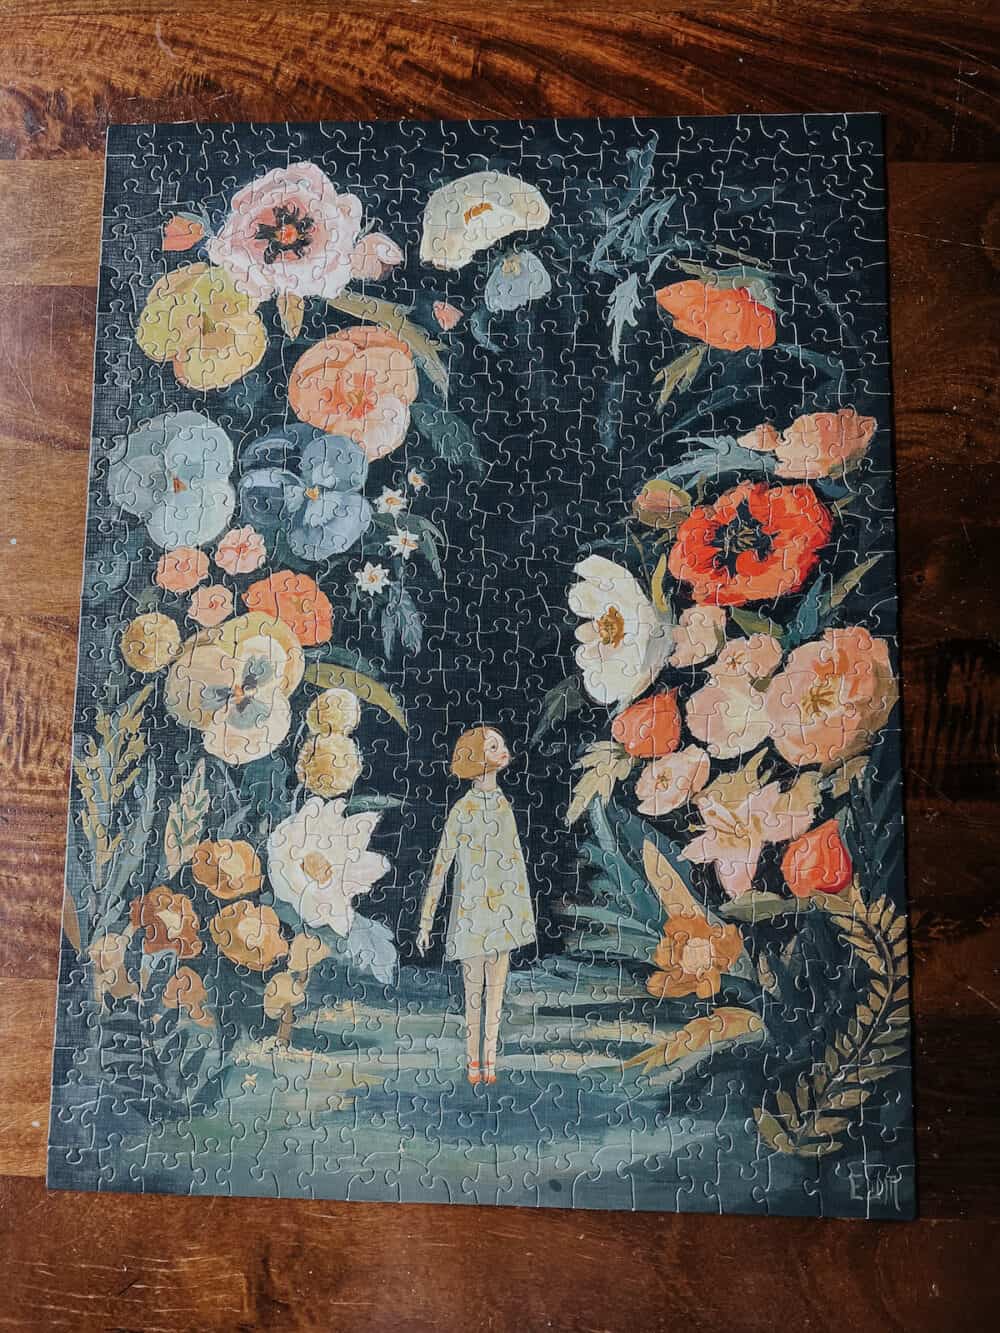
Credit: www.loveandrenovations.com
Securing The Puzzle Pieces
After finishing a puzzle, you might want to frame it to display it proudly on your wall. However, before framing, you need to ensure that all puzzle pieces are secured properly. This will prevent any pieces from falling off or shifting when the puzzle is mounted.
Choosing The Right Adhesive
Choosing the right adhesive is crucial to secure the puzzle pieces. You can use a variety of adhesives such as puzzle glue, white glue, or spray adhesive. However, make sure that the adhesive is acid-free and dries clear to avoid any damage to the puzzle.
Gluing Techniques For A Smooth Finish
Once you have chosen the adhesive, apply it to the back of the puzzle. You can use a brush or a spreader to apply the adhesive evenly. Start from the center of the puzzle and work your way outwards. Make sure that the adhesive covers all the pieces and there are no air bubbles.
After applying the adhesive, let it dry completely. It might take a few hours or a day depending on the adhesive you are using. Once the adhesive has dried, you can trim the edges of the puzzle if required.
Mounting The Puzzle
After the puzzle is dry, you can mount it on a foam board or a mat board. Make sure that the board is slightly larger than the puzzle to leave some space for framing. Apply the adhesive to the back of the puzzle and carefully place it on the board. Press it firmly to ensure that it sticks properly.
Securing the puzzle pieces is an important step in framing a puzzle. By choosing the right adhesive, applying it correctly, and mounting the puzzle on a board, you can ensure that your puzzle stays intact for a long time. Now you can proudly display your completed puzzle on your wall.
Mounting Made Simple
Mounting a puzzle can be a simple and enjoyable process when you have the right techniques and materials at your disposal. In this section, we’ll explore the key steps to mounting a puzzle, making the process easy and hassle-free.
Selecting The Best Backing Material
Choosing the right backing material is crucial for ensuring the stability and longevity of your mounted puzzle. Opt for a sturdy and durable backing board that is large enough to accommodate the entire puzzle without any overhang. Foam boards or plywood sheets are excellent options for providing adequate support and preventing warping over time.
Mounting Puzzle For Stability
When mounting your puzzle, start by applying a thin layer of puzzle glue or adhesive to the backing board, ensuring even coverage across the entire surface. Carefully position the puzzle on the backing board, gently pressing it down to ensure a secure bond. Once the puzzle is in place, apply a layer of sealant over the surface to protect the puzzle and provide a smooth, uniform finish.
Credit: www.loveandrenovations.com
Custom Framing Options
Create a beautiful display for your completed puzzle with custom framing options. Start by selecting a frame that complements the colors and theme of your puzzle. Consider using a mat board to add depth and contrast. Finally, protect your puzzle with UV glass or acrylic.
Finding The Perfect Frame
When it comes to framing a puzzle, finding the perfect frame is essential to showcase your completed masterpiece. The right frame can enhance the colors and details of the puzzle, making it a stunning piece of art to display in your home. There are a few key factors to consider when finding the perfect frame:
- Size: Choose a frame that matches the dimensions of your puzzle. Measure the length and width of the completed puzzle to ensure a proper fit.
- Material: Frames are available in various materials such as wood, metal, or plastic. Consider the style and durability you desire for your puzzle display.
- Color: Select a frame color that complements the colors of your puzzle. You can choose a frame that matches a dominant color in the puzzle or opt for a contrasting color to create a visually striking effect.
- Style: Frames come in different styles, ranging from classic to contemporary. Think about the overall aesthetic you want to achieve with your puzzle display.
Diy Framing Vs. Professional Services
Now that you know what to look for in a frame, you have two options for framing your puzzle: DIY framing or professional services. Let’s explore the pros and cons of each:
| DIY Framing | Professional Services |
|---|---|
|
|
|
While DIY framing may save you money, it requires time, effort, and some basic framing skills. You have the freedom to choose your own materials and design, adding a personal touch to the process. However, achieving a professional finish can be challenging, and mistakes can be costly. |
Professional framing services provide expertise and convenience. Framing professionals can guide you in selecting the best frame for your puzzle, ensuring a precise fit and proper preservation. They offer a wide range of frame options, including archival materials for long-lasting protection. However, professional framing services can be more expensive than DIY options. |
Whether you decide to tackle the framing process yourself or seek professional assistance, remember that the frame you choose will greatly impact the overall presentation of your puzzle. Consider your budget, time, and desired outcome to make the best decision for your unique puzzle framing needs.
Sealing And Protecting Your Artwork
Learn how to frame your puzzle and protect it from damage with these simple steps. Sealing your artwork ensures its longevity and keeps it looking its best for years to come. Follow these guidelines to preserve your puzzle in style.
Applying A Protective Sealant
When framing a puzzle, applying a protective sealant is crucial.
Uv Protection For Longevity
UV protection helps preserve the puzzle’s colors for longer. Sealing and protecting your artwork is vital to maintain its quality and durability. Applying a protective sealant is a key step in ensuring your puzzle remains intact and protected from external elements. This sealant acts as a barrier against moisture, dust, and other potential damage, keeping your artwork safe and secure. Additionally, providing UV protection for longevity is essential to prevent fading and discoloration over time. By taking these measures, you can safeguard your puzzle and enjoy it for years to come.
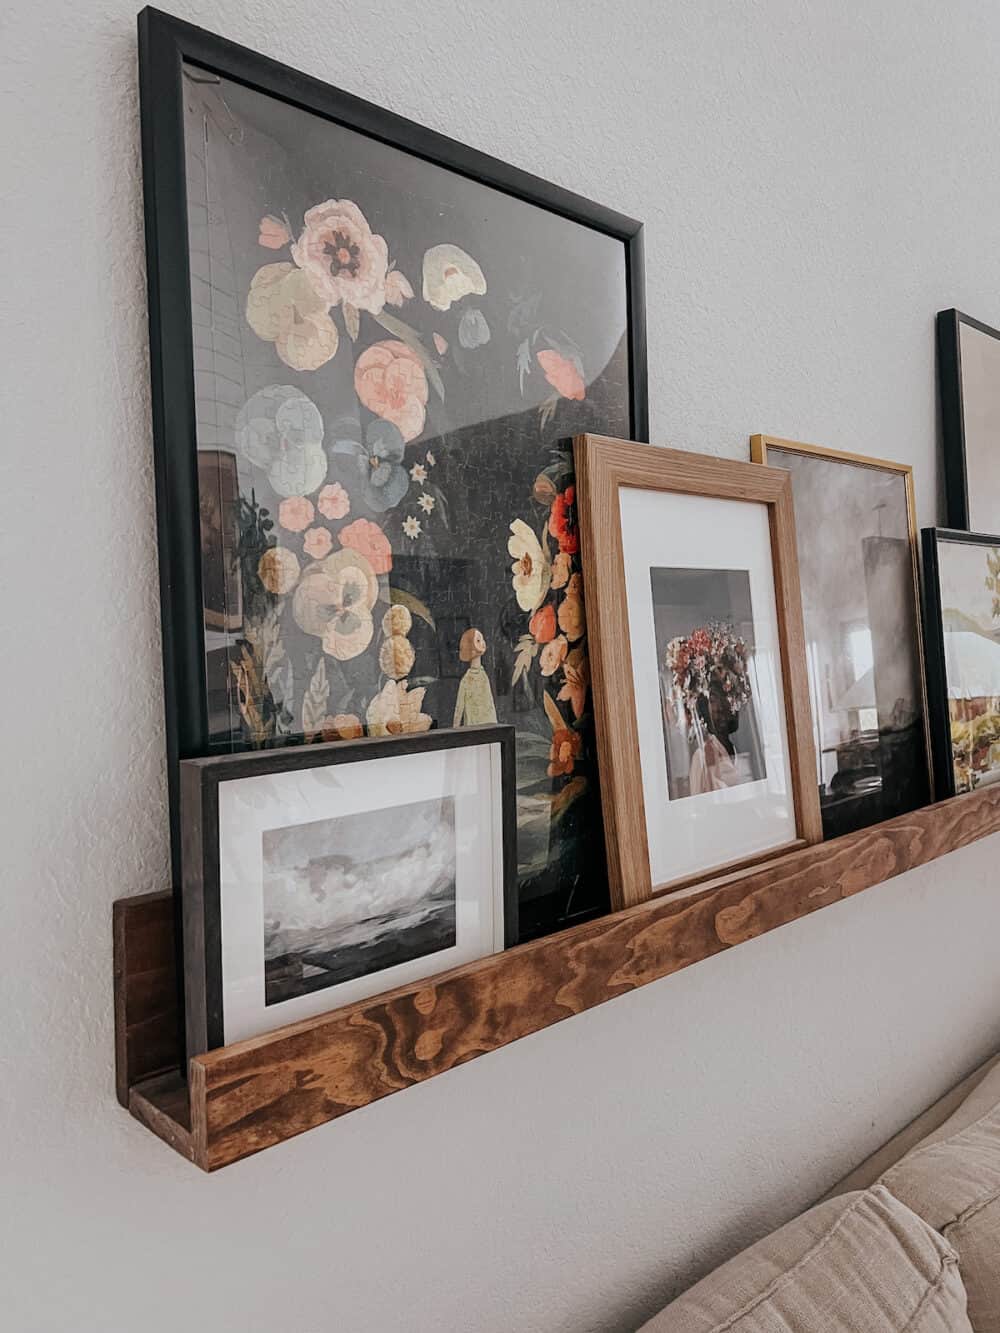
Displaying Your Framed Puzzle
Choosing The Ideal Location
Consider lighting, wall space, and visibility for the best spot.
Hanging Techniques And Tips
- Use picture hooks or adhesive strips for secure mounting.
- Ensure the frame is level using a spirit level.
- Keep the puzzle away from direct sunlight to prevent fading.
Maintenance And Care
To frame a puzzle, first choose a frame that matches the size of your puzzle. Then, carefully slide the puzzle into the frame and secure it in place using puzzle glue or adhesive strips. Finally, hang the framed puzzle on a wall or display it on a shelf for all to enjoy.
Regular dusting and occasional cleaning will help maintain the puzzle’s appearance.
Maintenance and Care Cleaning Your Framed Puzzle To clean your framed puzzle, use a soft, dry cloth. Avoid harsh chemicals or abrasive cleaners. When to Update the Frame Consider updating the frame if it shows signs of wear or damage. Ensure it complements the puzzle design. Considerations for Maintenance and Care – Use a gentle touch when cleaning the frame. – Display the framed puzzle away from direct sunlight. – Check for any loose pieces or dust regularly. – Keep the frame securely mounted to prevent accidents. – Ensure the frame matches the puzzle theme for cohesive design.

Credit: www.levelframes.com
Inspiring Ideas For Puzzle Enthusiasts
Are you a puzzle enthusiast looking to showcase your completed masterpieces in creative ways? Here are some inspiring ideas to frame and display your puzzles with flair.
Themed Puzzle Galleries
Create themed puzzle galleries by sorting your completed puzzles based on topics or styles. For example, you could have a gallery dedicated to landscapes, animals, or famous landmarks.
Consider using a bulletin board or a large frame to arrange and display your themed puzzle collections.
Gift-giving And Seasonal Displays
Turn your completed puzzles into unique gifts by framing them and presenting them to friends and family.
For seasonal displays, frame puzzles that match the current holiday or season. This adds a festive touch to your home decor and can be a fun way to celebrate special occasions.
Frequently Asked Questions
How To Choose The Right Puzzle Frame?
Select a frame that complements the puzzle’s theme and size. Consider the material and color to enhance the artwork. Ensure the frame’s depth accommodates the puzzle’s thickness for a perfect fit.
What Tools Are Needed For Framing A Puzzle?
Gather a frame, puzzle glue, foam board, and a cutting tool. Use acid-free glue to preserve the puzzle. A foam board provides a sturdy backing, and a cutting tool helps trim the board to size.
Is It Necessary To Glue A Puzzle Before Framing?
Yes, gluing the puzzle secures the pieces in place, preventing shifting or damage. It also preserves the completed puzzle for display. Use puzzle glue for a secure and long-lasting bond.
Conclusion
Framing a puzzle can be a rewarding and creative process that adds a personal touch to your living space. By following the steps outlined in this guide, you can showcase your completed puzzle in a way that preserves and enhances its beauty.
Whether using a ready-made frame or customizing your own, the end result will be a stunning display piece that brings joy and pride.