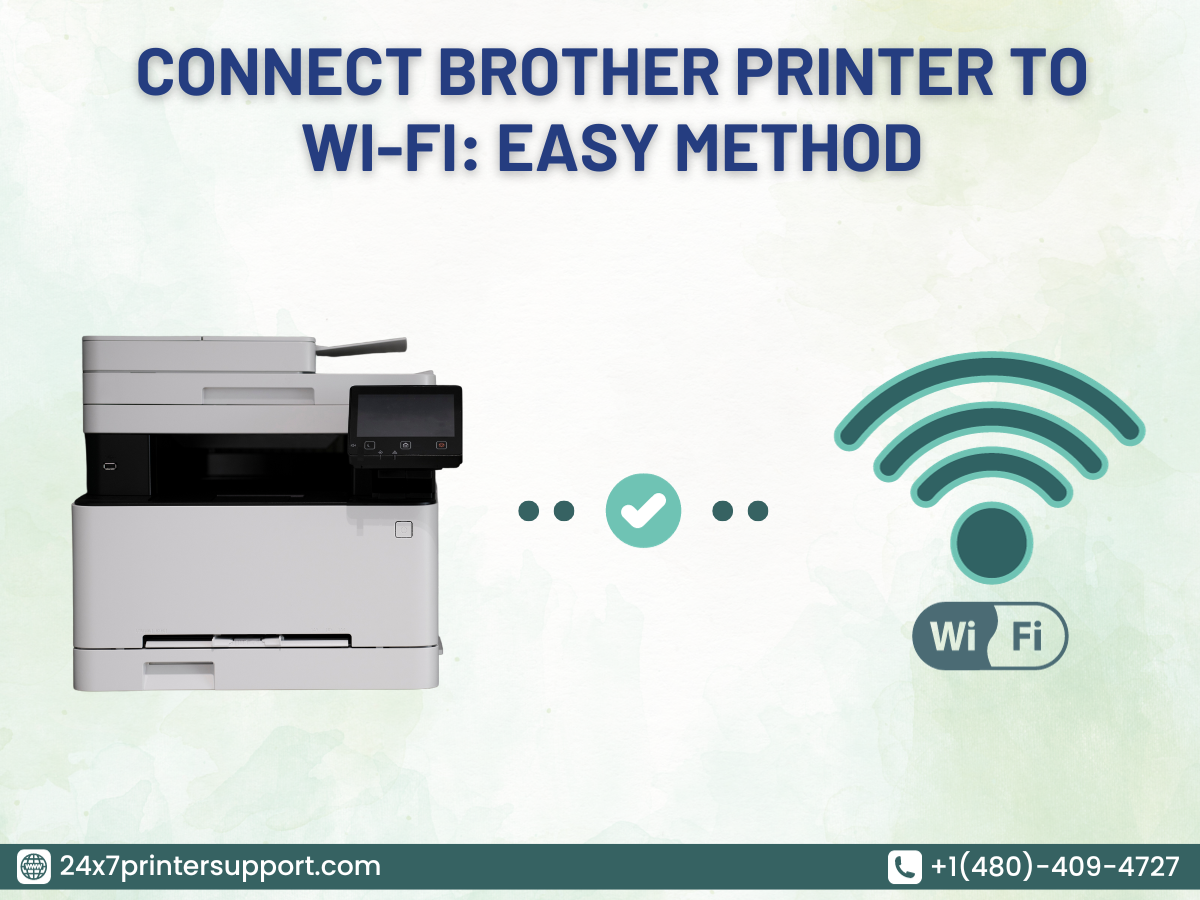
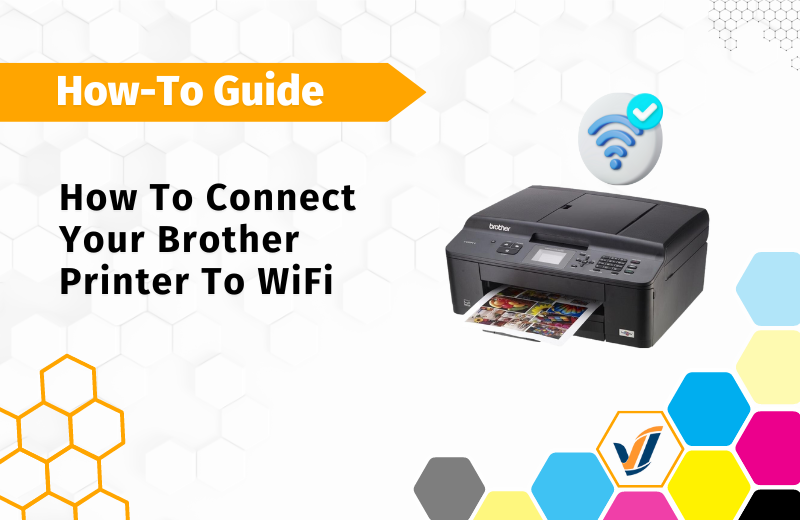
How to connect Brother Printer to WiFi, follow these steps: Go to the printer’s settings menu and select the network option. Choose the WiFi network you want to connect to and enter the password.
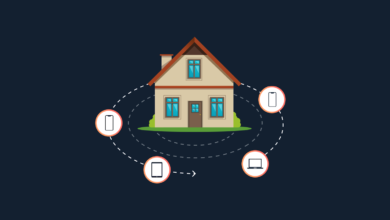
Connecting your Brother Printer to WiFi is a simple process that allows you to print wirelessly from any device connected to the same network. By connecting your printer to WiFi, you can enjoy the convenience and flexibility of printing documents and photos without the need for a direct connection.
In this blog post, we will guide you through the steps to connect your Brother Printer to WiFi, ensuring a smooth and hassle-free setup. So, let’s get started and make your printing experience more convenient and efficient.
Introduction To Wireless Printing
Wireless printing offers convenience and flexibility, allowing you to connect your Brother printer to WiFi effortlessly. With easy-to-follow steps, you can establish a wireless connection, enabling seamless printing from multiple devices without the need for cables or direct connections.
The Convenience Of Wireless Printers
Wireless printers offer flexibility and convenience for printing from anywhere in your home or office.
Why Choose A Brother Printer?
Brother printers are known for their reliability, high-quality prints, and user-friendly setup.
How to Connect Brother Printer to WiFi: Preparation Before Setup
Before setting up your Brother printer to connect to WiFi, ensure you have the network name and password at hand. Double-check that your wireless network is working properly and that the printer is placed within the signal range. This preparation will streamline the setup process and minimize any potential connectivity issues related to how to connect Brother printer to WiFi.
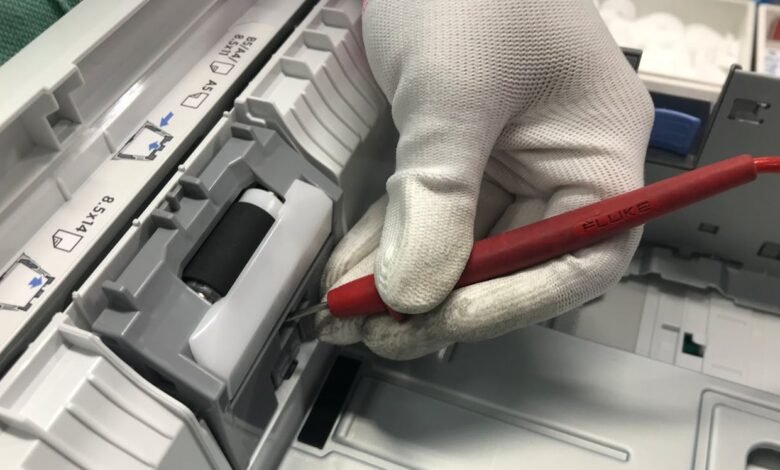
Checking Printer Compatibility
Before you begin setting up your Brother printer for wireless connectivity, it is important to ensure that your printer is compatible with a wireless network. Check the printer manual or the manufacturer’s website to confirm that your printer model supports wireless connectivity related to how to connect Brother printer to WiFi. If your printer does not support wireless connectivity, you may need to purchase a wireless adapter separately.
Gathering Necessary Information
To successfully connect your Brother printer to a wireless network, you will need to gather some essential information related to how to connect Brother printer to WiFi. First, you will need to know your wireless network name (SSID) and password. You can find this information on the back of your router or by contacting your internet service provider.
Additionally, you will need a computer or mobile device that is connected to the same wireless network as the printer related to how to connect Brother printer to WiFi. Once you have confirmed your printer’s compatibility and gathered the necessary information, you can proceed with the setup process. Follow the instructions in your printer manual or on the Brother website to connect your printer to your wireless network. By taking these steps to prepare for setup, you can ensure a smooth and successful wireless connection for your Brother printer.
Locating The Network Settings
Connecting your Brother printer to a Wi-Fi network requires accessing the printer’s control panel and locating the network settings related to how to connect Brother printer to WiFi. By following a few simple steps, you can easily connect your printer to your Wi-Fi network and enjoy the convenience of wireless printing.
Accessing The Printer’s Control Panel
To begin the process of connecting your Brother printer to Wi-Fi related to how to connect Brother printer to WiFi, you need to access the printer’s control panel. The control panel is where you can navigate through various settings and configurations. Here’s how you can access it:
- Make sure your Brother printer is turned on and ready for use.
- Locate the control panel on the front of the printer.
- Press the “Menu” or “Settings” button on the control panel to enter the menu options.
Finding The Network Menu
Once you have accessed the printer’s control panel, the next step is to find the network menu. This menu contains the settings necessary for connecting your printer to a Wi-Fi network. Follow these steps to locate the network menu:
- Using the navigation buttons on the control panel, scroll through the menu options until you find the “Network” or “Network Settings” option.
- Press the corresponding button to enter the network menu.
If you are having trouble locating the network menu, refer to your printer’s user manual for specific instructions.
By following these simple steps, you can access the network settings on your Brother printer and proceed with connecting it to your Wi-Fi network. Once connected, you will be able to enjoy the convenience of wireless printing from any device on your network.
Initiating The Wireless Setup Wizard
To connect your Brother printer to WiFi, you can initiate the wireless setup wizard from the printer’s control panel related to how to connect Brother printer to WiFi. Follow the on-screen instructions to scan for available networks and enter your WiFi password. Once the connection is established, you can start printing wirelessly.
Initiating the Wireless Setup Wizard is the first step towards connecting your Brother Printer to Wi-Fi. The setup wizard is a simple and easy-to-follow process that allows you to connect your printer to your wireless network in just a few minutes related to how to connect Brother printer to WiFi. In this section, we will guide you through the steps involved in initiating the wireless setup wizard, so you can start enjoying the convenience of printing wirelessly from your Brother Printer related to how to connect Brother printer to WiFi.
Navigating To Setup Wizard
To initiate the wireless setup wizard, you need to access the printer’s control panel. Follow these steps to get started:
- Press the Menu button on the printer’s control panel.
- Use the Up and Down arrow keys to navigate to the Network option.
- Press the OK button to select the Network option.
- Use the Up and Down arrow keys to navigate to the WLAN option.
- Press the OK button to select the WLAN option.
- Use the Up and Down arrow keys to navigate to the Setup Wizard option.
- Press the OK button to select the Setup Wizard option.
Starting The Wireless Connection Process
Once you have selected the Setup Wizard option related to how to connect Brother printer to WiFi, the printer will start searching for available wireless networks. Follow these steps to complete the wireless connection process:
- Wait for the printer to display a list of available wireless networks.
- Use the Up and Down arrow keys to navigate to your wireless network.
- Press the OK button to select your wireless network.
- If your wireless network is secured with a password, enter the password using the printer’s keypad.
- Use the Up and Down arrow keys to navigate to the Apply option.
- Press the OK button to apply the settings.
- The printer will now connect to your wireless network. This may take a few minutes.
- Once the connection is established, the printer will display a message confirming the successful connection.
In conclusion, initiating the wireless setup wizard is a simple and straightforward process that allows you to connect your Brother Printer to Wi-Fi in just a few minutes. By following the steps outlined above, you can ensure that your printer is connected to your wireless network and ready to print wirelessly.
Selecting Your Wifi Network
When it comes to setting up your Brother printer to connect to a wireless network related to how to connect Brother printer to WiFi, selecting your WiFi network is a crucial step. This process involves scanning for available networks and choosing your home network. Let’s dive into the details of selecting your WiFi network for your Brother printer.
Scanning For Available Networks
Start by pressing the “Menu” button on your Brother printer and navigate to the “Network” option. Then, select “WLAN” followed by “Setup Wizard.” Your printer will then scan for available WiFi networks in your vicinity.
Choosing Your Home Network
Once the scan is complete, a list of available networks will appear on the printer’s display. Choose your home WiFi network from the list and enter the password when prompted. Ensure that you select the correct network to establish a secure connection.
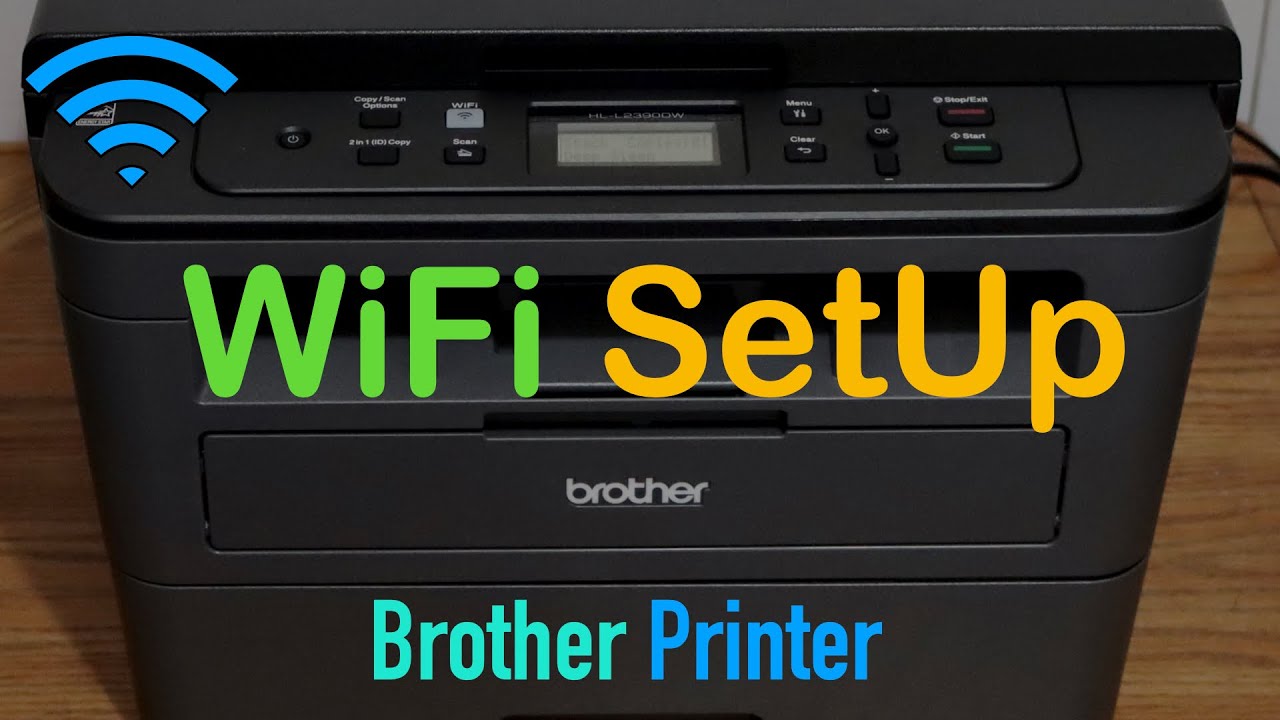
Credit: m.youtube.com
Entering Wifi Password
To connect your Brother printer to WiFi related to how to connect Brother printer to WiFi, follow these steps: 1. Press the Menu button on the printer’s control panel. 2. Go to the Network option and select WLAN. 3. Choose Setup Wizard and select your WiFi network. 4. Enter the WiFi password when prompted. 5. Wait for the printer to connect to the network. 6. Once connected, you can start printing wirelessly.
Entering Wifi Password When it comes to connecting your Brother Printer to Wifi related to how to connect Brother printer to WiFi, one crucial step is entering the Wifi password. This ensures that your printer can establish a secure connection to your network and enable wireless printing. Follow the steps below to input the security key and confirm network authentication. H3: Inputting Security Key To begin, locate the control panel on your Brother Printer. Press the Menu button to access the settings menu. Use the navigation arrows to scroll through the options and select the Network option. Once selected, choose the WLAN option to access the Wifi settings.
Next, you will see a list of available networks related to how to connect Brother printer to WiFi. Select your Wifi network from the list by highlighting it and pressing the OK button. If your network is not displayed, make sure your printer is within range of the Wifi signal and try again. Once you have selected your network, you will be prompted to enter the Wifi password related to how to connect Brother printer to WiFi. Use the printer’s keypad to input the password. Be cautious when entering the password to avoid any mistakes. If you make an error, use the arrow keys to move the cursor and make corrections.
After entering the password related to how to connect Brother printer to WiFi, press the OK button to proceed. The printer will then attempt to connect to the Wifi network using the provided password related to how to connect Brother printer to WiFi. This may take a few moments, so be patient and wait for the confirmation. H3: Confirming Network Authentication Once the connection process is complete, your Brother Printer will display a message confirming network authentication related to how to connect Brother printer to WiFi.
This means that your printer has successfully connected to the Wifi network using the entered password related to how to connect Brother printer to WiFi. You can now enjoy the convenience of wireless printing. It is important to ensure that the network authentication is successful to avoid any connectivity issues.
If you encounter any problems during this step related to how to connect Brother printer to WiFi, double-check the entered password for accuracy related to how to connect Brother printer to WiFi. You can also try restarting both your printer and router to establish a fresh connection. In conclusion, entering the Wifi password related to how to connect Brother printer to WiFi is an essential part of connecting your Brother Printer to Wifi. By following the steps outlined above related to how to connect Brother printer to WiFi and confirming network authentication related to how to connect Brother printer to WiFi, you can enjoy seamless wireless printing and maximize the functionality of your printer.
Finalizing The Connection
After successfully connecting your Brother printer to Wi-Fi, the final step involves finalizing the connection to ensure smooth operation.
Saving Settings
To save the settings on your Brother printer, navigate to the wireless settings menu.
- Locate the “Save” or “Apply” button.
- Click on the button to save the Wi-Fi settings.
Printing A Test Page
Printing a test page helps confirm the successful connection of your Brother printer to Wi-Fi.
- Go to the printer settings on the control panel.
- Select “Print Test Page” to initiate the printing process.
Troubleshooting Common Issues
To connect your Brother printer to WiFi, first ensure that your printer and router are turned on. Then, access the network settings on your printer and select the option to connect to a wireless network. Follow the prompts to enter your network name and password, and your printer should be connected to WiFi.
If you encounter any issues, try resetting your printer or router, or contacting Brother customer support for assistance.
Resetting The Printer Network Settings
Troubleshooting Common Issues Having trouble connecting your Brother printer to WiFi? Let’s troubleshoot common issues.
Addressing Connection Failures
If your Brother printer fails to connect to WiFi, check the network settings. Reset your router and printer to resolve connectivity problems.
Resetting The Printer Network Settings
To reset the printer network settings, follow these steps: 1. Access the printer menu. 2. Go to Network settings. 3. Choose WLAN. 4. Select Setup Wizard. 5. Follow the on-screen prompts to reset. Resetting the network settings can often fix connectivity issues with your Brother printer.
Tips For Maintaining A Stable Connection
When setting up your Brother printer on Wi-Fi, ensuring a stable connection is crucial. Follow these tips to maintain a reliable connection for seamless printing.
Regular Firmware Updates
Keep your Brother printer’s firmware up to date to ensure compatibility and optimal performance.
Optimal Printer Placement
Place your printer in a central location to minimize signal interference and maximize connectivity.
Credit: medium.com
Exploring Advanced Features
When setting up your Brother printer on WiFi, take advantage of its advanced features for enhanced functionality.
Using The Brother Iprint&scan App
The Brother iPrint&Scan app allows you to print and scan directly from your mobile device with ease.
Setting Up Cloud Printing Services
Integrate your Brother printer with cloud printing services for convenient printing from anywhere.
Credit: viableimaging.com
Frequently Asked Questions
How Do I Connect My Brother Printer To Wifi?
To connect your Brother printer to WiFi, access the printer’s menu and select the network settings. Choose the wireless setup wizard and follow the on-screen instructions to locate and connect to your WiFi network. Enter your WiFi password when prompted to complete the setup.
Can I Connect Multiple Devices To My Brother Printer Over Wifi?
Yes, you can connect multiple devices to your Brother printer over WiFi. Once the printer is connected to your WiFi network, any device within the network can send print jobs to the Brother printer, making it convenient for multiple users to utilize the same printer wirelessly.
What Should I Do If My Brother Printer Is Not Connecting To Wifi?
If your Brother printer is not connecting to WiFi, start by ensuring that the WiFi network is functioning properly. Then, check the printer’s network settings and restart both the printer and the router. If the issue persists, consider reconfiguring the WiFi connection on the printer or contacting Brother’s customer support for assistance.
Conclusion
Connecting your Brother printer to wifi is a simple yet essential task. By following the easy steps outlined in this guide, you can ensure seamless printing from any device. Embracing wireless connectivity enhances convenience and productivity in your daily printing tasks.
Stay updated and enjoy hassle-free printing with your Brother printer.